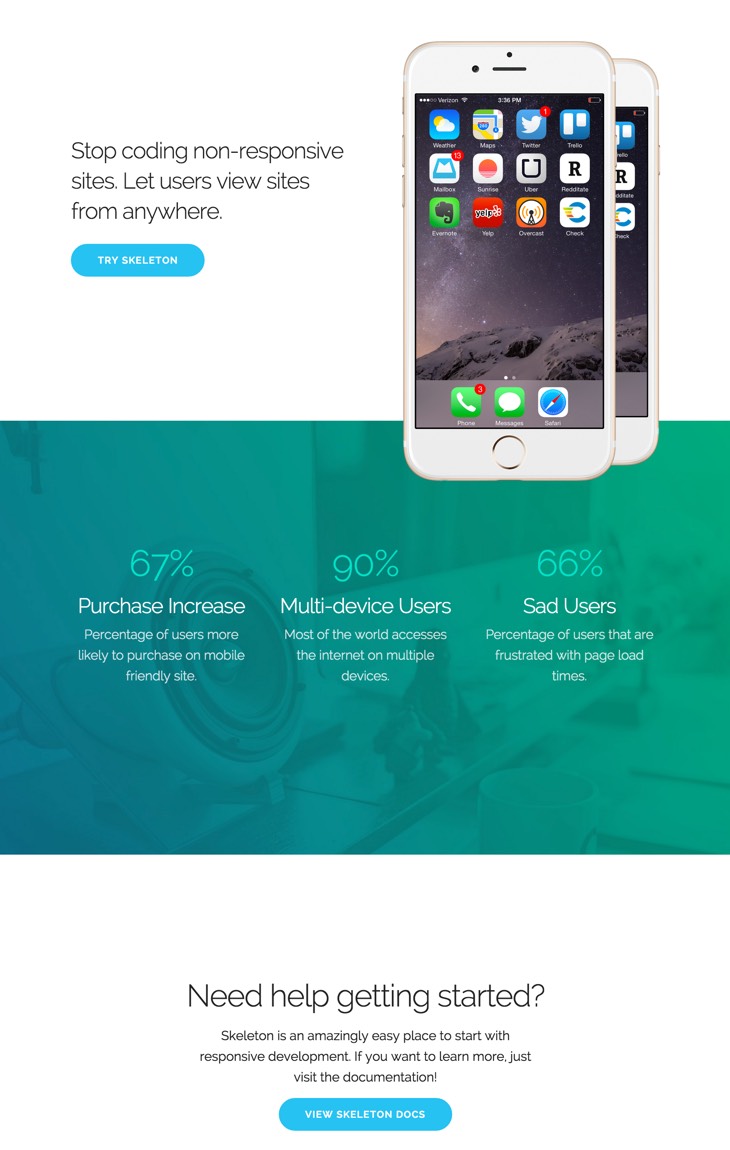
A simple responsive framework for mobile friendly development.
DownloadIs Skeleton Framework for you?
You should use Skeleton Framework if you're embarking on a smaller project or just don't feel like you need all the utility of larger frameworks. Skeleton only styles a handful of standard HTML elements and includes a grid, but that's often more than enough to get started. In fact, this site is built on Skeleton Framework and has ~200 lines of custom CSS (half of which is the docking navigation).
The grid
The grid is a 12-column fluid grid with a max width of 1200px, that shrinks with the browser/device at smaller sizes. The max width can be changed with one line of CSS and all columns will resize accordingly. The syntax is simple and it makes coding responsive much easier. Go ahead, resize the browser.
    One
    Eleven


    Two
    Ten


    ⅓
    ⅔


    ½
    ½
Typography
Type is all set with the rems, so font-sizes and spacial relationships can be responsively sized based on a single <html> font-size property. Out of the box, Skeleton Framework never changes the <html> font-size, but it's there in case you need it for your project. All measurements are still base 10 though so, an <h1> with 5.0remfont-size just means 50px.
The typography base is Raleway served by Google, set at 1.5rem (15px) over a 1.6 line height (24px). Other type basics like anchors, strong, emphasis, and underline are all obviously included.
Headings create a family of distinct sizes each with specific letter-spacing, line-height, and margins.
Heading <h1> 5.0rem
Heading <h2> 4.2rem
Heading <h3> 3.6rem
Heading <h4> 3.0rem
Heading <h5> 2.4rem
Heading <h6> 1.5rem
Heading
Heading
Heading
Heading
Heading
Heading


The base type is 15px over 1.6 line height (24px)


Bolded
Italicized
Colored
Underlined
Buttons
Buttons come in two basic flavors in Skeleton Framework. The standard <button> element is plain, whereas the .button-primary button is vibrant and prominent. Button styles are applied to a number of appropriate form elements, but can also be arbitrarily attached to anchors with a .button class.
Anchor button
Anchor button
Forms
Forms are a huge pain, but hopefully these styles make it a bit easier. All inputs, select, and buttons are normalized for a common height cross-browser so inputs can be stacked or placed alongside each other.
Lists
- Unordered lists have basic styles
-
They use the circle list style
- Nested lists styled to feel right
- Can nest either type of list into the other
- Just more list items mama san
- Ordered lists also have basic styles
-
They use the decimal list style
- Ordered and unordered can be nested
- Can nest either type of list into the other
- Last list item just for the fun
- Item 1
-
Item 2
- Item 2.1
- Item 2.2
- Item 3
Code
Code styling is kept basic – just wrap anything in a <code> and it will appear like this. For blocks of code, wrap a <code> with a <pre>.
.some-class {
  background-color: red;
}
.some-class {
  background-color: red;
}
Tables
Be sure to use properly formed table markup with <thead> and <tbody> when building a table.
| Name | Age | Sex | Location |
|---|---|---|---|
| Dave Gamache | 26 | Male | San Francisco |
| Dwayne Johnson | 42 | Male | Hayward |
      Name
      Age
      Sex
      Location


      Dave Gamache
      26
      Male
      San Francisco


      Dwayne Johnson
      42
      Male
      Hayward
Media queries
Skeleton Framework uses media queries to serve its scalable grid, but also has a list of queries for convenience of styling your site across devices. The queries are mobile-first, meaning they target min-width. Mobile-first queries are how Skeleton's grid is built and is the preferrable method of organizing CSS. It means all styles outside of a query apply to all devices, then larger devices are targeted for enhancement. This prevents small devices from having to parse tons of unused CSS. The sizes for the queries are:
- Desktop HD: 1200px
- Desktop: 1000px
- Tablet: 750px
- Phablet: 550px
- Mobile: 400px
/* Mobile first queries */

/* Larger than mobile */
@media (min-width: 400px) {}

/* Larger than phablet */
@media (min-width: 550px) {}

/* Larger than tablet */
@media (min-width: 750px) {}

/* Larger than desktop */
@media (min-width: 1000px) {}

/* Larger than Desktop HD */
@media (min-width: 1200px) {}
Utilities
Skeleton Framework has a number of small utility classes that act as easy-to-use helpers. Sometimes it's better to use a utility class than create a whole new class just to float an element.
/* Utilities
–––––––––––––––––––––––––––––––––––––––––––––––––– */
.u-full-width {
  width: 100%; }

.u-max-full-width {
  max-width: 100%; }

/* Floats */
.u-pull-right {
  float: right; }

.u-pull-left {
  float: left; }

.u-cf {
  content: "";
  display: table;
  clear: both; }

/* Positioning */
.u-center-block {
  display: block;
  margin-left: auto;
  margin-right: auto; }

/**
 * Note:
 *
 * Nest this class inside something with `position: relative` to have
 * your element centered relative to its containing element.
 *
 * Use this class without nesting it to have your element centered relative
 * to the viewport.
 */
.u-center-abs {
  position: absolute;
  top: 50%;
  left: 50%;
  -webkit-transform: translateY(-50%) translateX(-50%);
      -ms-transform: translateY(-50%) translateX(-50%);
          transform: translateY(-50%) translateX(-50%); }

/* Type */
.u-text-center {
  text-align: center !important; }

.u-text-right {
  text-align: right !important; }

.u-text-hide {
  font: 0/0 a;
  color: transparent;
  text-shadow: none;
  background-color: transparent;
  border: 0; }

/* Peek a boo */
.u-hide {
  display: none !important; }

.u-show {
  display: block !important; }

.u-invisible {
  visibility: hidden !important; }

.u-visible {
  visibility: visible !important; }

/* Misc */
.u-img-responsive {
  display: block;
  max-width: 100%;
  height: auto; }
